
An installment of a new shingle roofing process can significantly enhance the protection and aesthetics of your home. At Guardian Roofing Services, we believe that understanding the installation process helps homeowners make informed decisions and ensures a smoother experience. Here’s a detailed look at the steps involved in the shingle roofing process, from start to finish.
Initial Inspection and Assessment
The process starts with a thorough inspection of your existing roof. Our skilled team will check its condition, spot any damage, and decide if a replacement is needed.
This initial evaluation helps us understand the scope of the project and provides you with an opportunity to discuss any concerns or preferences you may have. Once you decide to proceed, we’ll schedule the installation and prepare for the work ahead.
Roof Deck Preparation
After removing old shingles, the next critical step is inspecting and preparing the roof deck, which is usually made of plywood or oriented strand board (OSB).
Any damaged or rotting sections are repaired or replaced to ensure a solid base for the new shingles. Proper preparation of the roof deck is essential for the durability and performance of the new roofing system. Guardian Roofing Services has expertise in roof replacement services.
Underlayment Installation
With the deck ready, we install an underlayment, which serves as an extra layer of protection. This material, often felt or synthetic, helps shield the deck from moisture and smooth out minor imperfections. Installing the underlayment ensures that the shingles adhere properly and adds an additional barrier against leaks.
Applying Starter Shingles
Before laying down the main shingles, we install starter shingles along the eaves of the roof. These shingles are designed to create a watertight seal at the bottom of the roof, preventing water from seeping underneath the first row of shingles. This step is crucial for ensuring a secure and leak-proof roofing system.
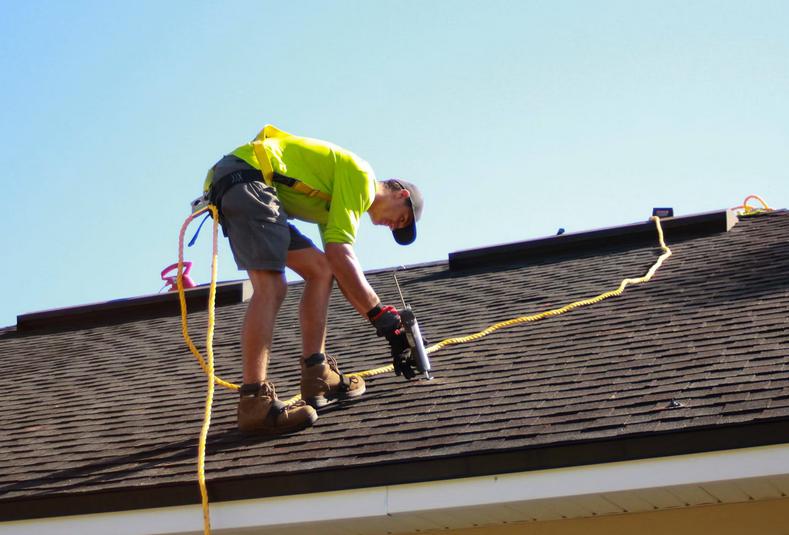
Shingle Installation
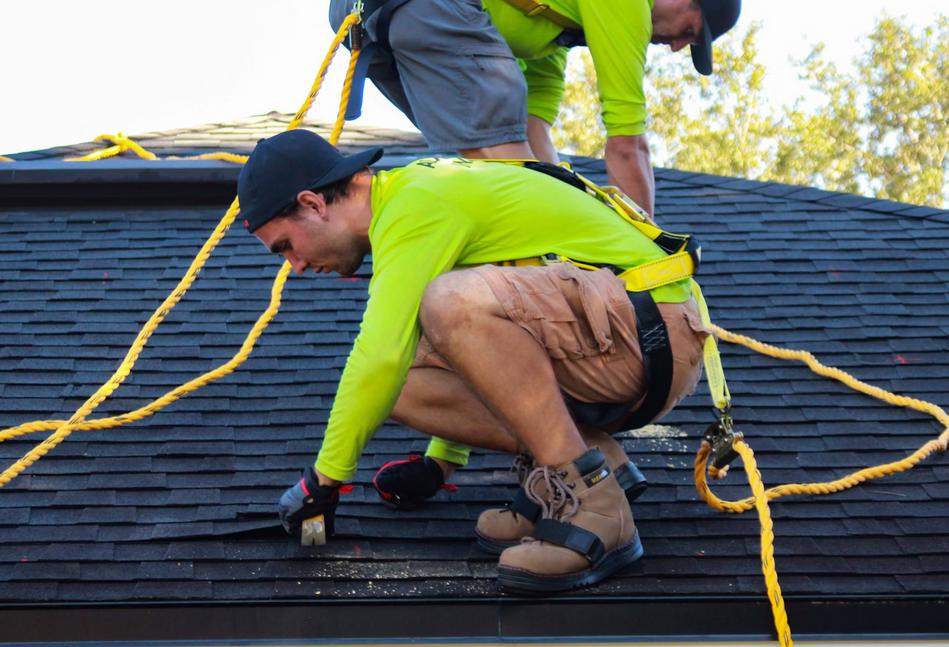
Shingles are laid in overlapping rows, beginning at the roof’s bottom edge and progressing upward. Each row covers the one beneath it, and the shingles are fastened with roofing nails.
The installation pattern and alignment are carefully managed to ensure proper coverage and aesthetic appeal. Whether you choose asphalt, wood shake, or metal shingles, our team ensures precise and professional roof installation.
Flashing and Ventilation
Proper flashing is installed around roof penetrations such as chimneys, vents, and skylights. Flashing directs water away from these vulnerable areas, reducing the risk of leaks. Additionally, adequate ventilation is crucial for maintaining the health of the roof and the attic space.
Final Inspection and Clean-Up
Once the shingles are installed, we conduct a thorough final inspection to ensure everything is completed to our high standards. We check for any issues and confirm that the roof is properly sealed and secure. Our team also performs a comprehensive clean-up, removing any debris and leftover materials from the job site.
Post-Installation Care
After your new roof is installed, regular maintenance is key to its longevity. We recommend routine inspections, cleaning gutters, and addressing any issues promptly to keep your roof in top condition. Our team at Guardian Roofing Services is always here to help with ongoing maintenance and support.
By understanding each step of the shingle roofing process, you can better prepare for your roofing project and ensure a successful outcome. If you’re ready to start your roofing project or have any questions, contact Guardian Roofing Services for a free estimate.
We’re dedicated to providing quality craftsmanship and exceptional customer service to keep your home safe and beautiful.